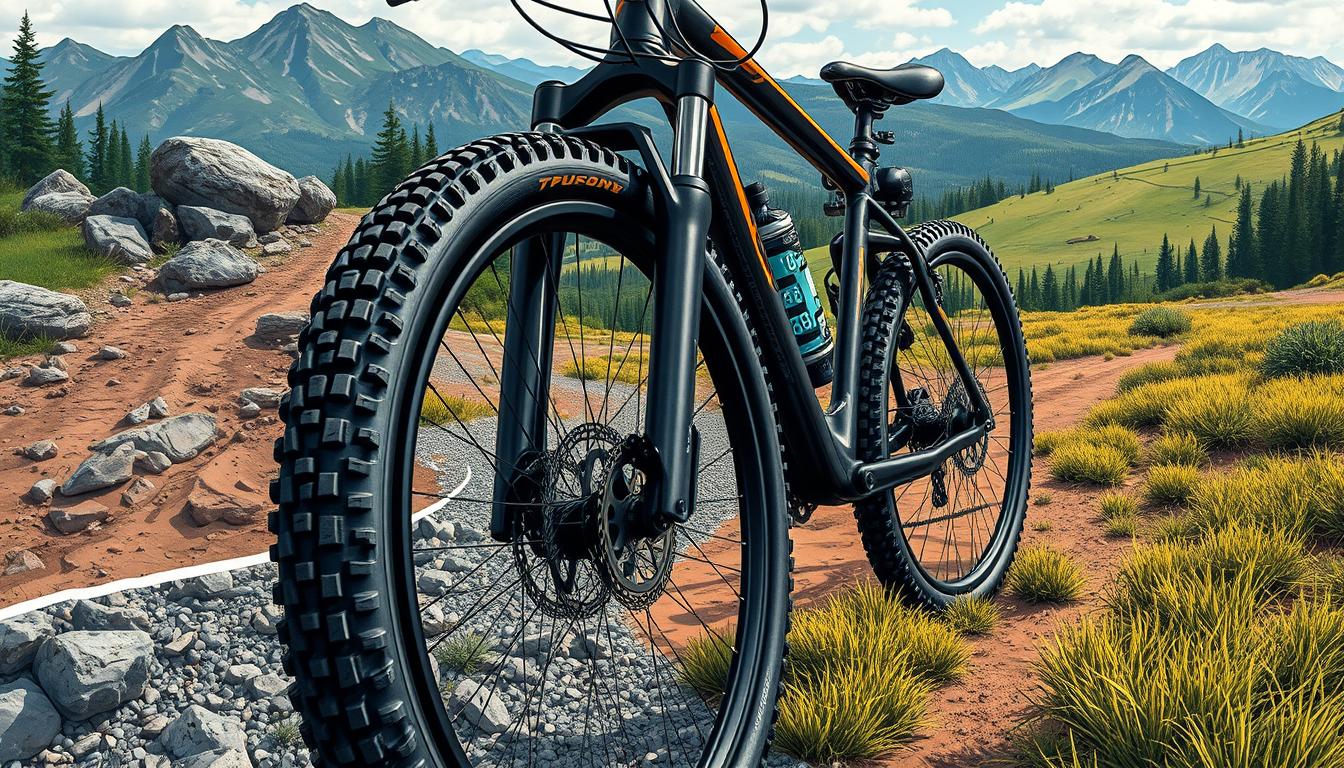
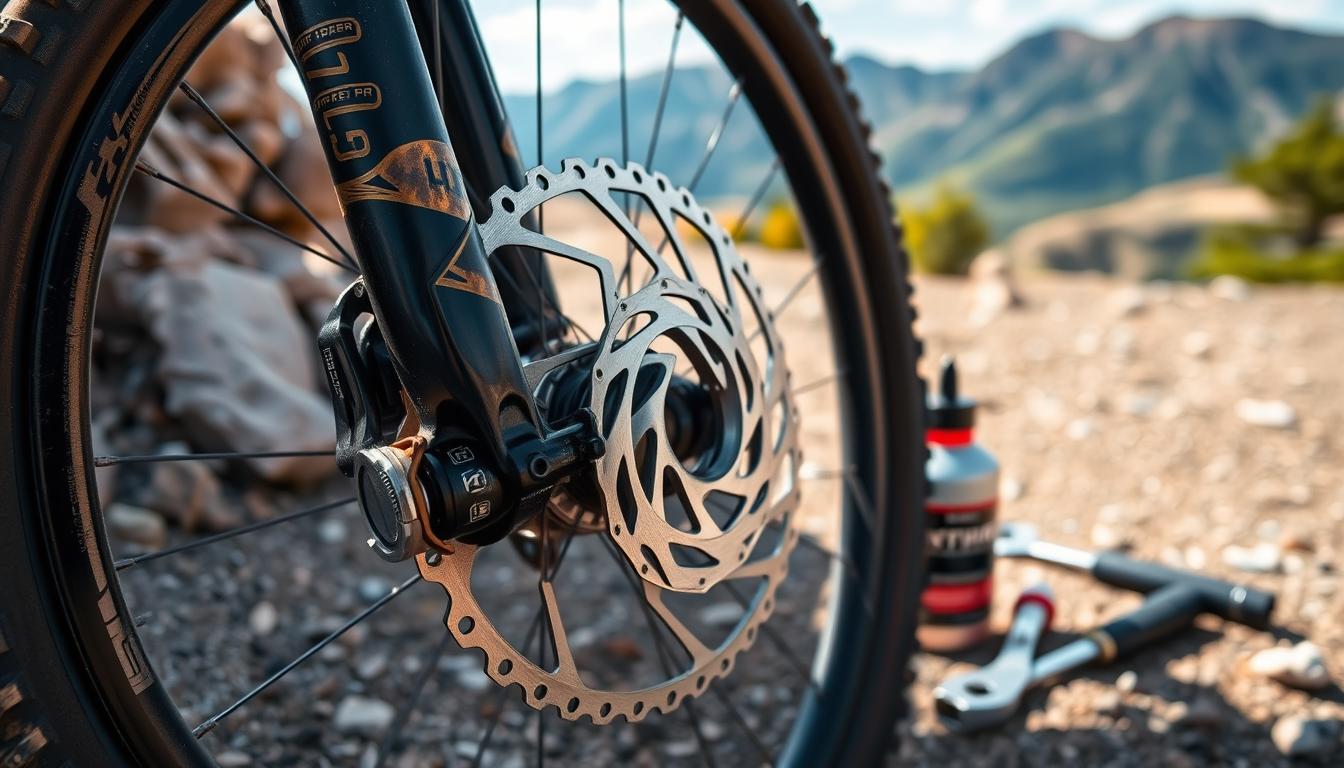
Proper mountain bike tyre pressure is vital for top-notch performance on various trails. It can greatly enhance your grip, control, and comfort on challenging terrain.
Tyre pressure isn’t just about numbers. It’s a dynamic process that adapts to your riding style and environment. The average rider weighs 79.6 kg, so finding the right PSI is a personal art.
Tyre pressure affects every part of your mountain biking adventure. It can significantly improve your ride quality and safety on different terrains.
This guide will delve into the world of mountain bike tyre pressure. We’ll reveal expert techniques to fine-tune your setup for peak trail performance.
You’ll learn about pressure ranges and practical adjustment strategies. These skills will help you elevate your riding experience.
Understanding the Importance of Correct Tire Pressure
Mountain bike performance relies heavily on tire pressure. The right pressure can dramatically improve your riding experience. It affects bike handling and trail comfort.
Tire pressure isn’t just about numbers. It’s a delicate balance influencing many aspects of mountain biking. Different pressures change how your bike interacts with various terrains.
Impact on Bike Performance and Control
Proper tire pressure determines crucial riding characteristics. These include tire traction, rolling resistance, and puncture protection. It also affects overall bike handling and responsiveness.
- Tire traction on challenging surfaces
- Rolling resistance across different trails
- Puncture protection during rough rides
- Overall bike handling and responsiveness
*Precision matters: Even a 1-3 PSI difference can transform your riding experience.*
Relationship Between Tire Pressure and Trail Conditions
Different trail surfaces require unique pressure settings. Soft, muddy terrains need lower pressures for better grip. Hardpacked trails benefit from higher pressures to reduce rolling resistance.
Safety Considerations for Different Pressure Levels
Correct tire pressure is crucial for rider safety. Incorrect pressures can lead to various issues. These include increased risk of pinch flats and reduced cornering stability.
- Increased risk of pinch flats
- Reduced cornering stability
- Compromised shock absorption
- Potential loss of control on technical sections
Riders should check and adjust tire pressure regularly. The ideal setting varies based on weight, bike type, and trail conditions.
Essential Tools and Equipment for Tire Pressure Management
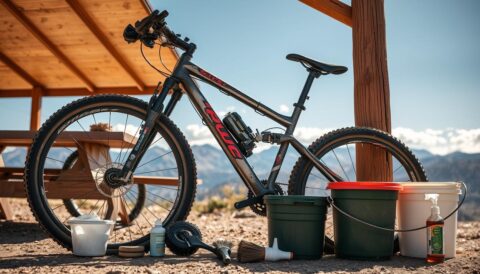
Managing your mountain bike’s tire pressure demands a well-chosen toolkit. The right gear ensures accurate readings and top performance on various terrains. Precise maintenance is crucial for professional cyclists.
Key tools for mountain bike tire pressure management include:
- Digital tire pressure gauge for precise readings
- High-quality floor pump with accurate inflation
- Specialised shock pump for suspension adjustments
- Tubeless sealant for puncture protection
Digital gauges offer more accurate measurements than traditional analogue models. A reliable floor pump with an integrated gauge can streamline your maintenance routine.
“Precision in tire pressure is the difference between a good ride and a great adventure.”
Tubeless setups need extra care. Quality tubeless sealant helps prevent punctures and keeps tires performing well. Proper equipment selection directly impacts your bike’s handling.
Tire pressure naturally drops over time. Regular checks are vital to maintain peak performance and avoid damage.
How to Check Mountain Bike Tire Pressure
Proper tire pressure is vital for mountain biking performance and safety. It affects your ride efficiency and helps prevent trail issues. Learning to measure it correctly is key.
To check PSI, you’ll need a few tools. These include a reliable tire pressure gauge and a bicycle pump. A clean, well-lit workspace is also helpful.
Step-by-Step Pressure Checking Process
Checking your mountain bike tire pressure is straightforward. Follow these steps for best results:
- Remove the valve cap from your tire
- Press the gauge firmly onto the valve stem
- Read the displayed pressure carefully
- Compare the reading with recommended pressure ranges
Common Pressure Checking Mistakes to Avoid
Cyclists often make errors during tire pressure measurement. Watch out for these common mistakes:
- Not fully engaging the gauge with the valve
- Forgetting to account for altitude changes
- Ignoring temperature variations that affect pressure
Frequency of Pressure Checks
Regular inspection is key to maintaining optimal bike performance. Check your tire pressure before every ride. Pressure naturally decreases over time.
Mountain bike tires typically need 20-35 PSI. The exact amount depends on your riding conditions and bike specs.
Remember: Proper tire pressure isn’t just about numbers—it’s about creating the perfect balance between comfort, control, and performance.
Recommended Pressure Ranges for Different Riding Styles
Choosing the right tire pressure is vital for mountain bike performance. Each cycling style needs a specific approach to tire pressure. This ensures grip, comfort, and efficiency.
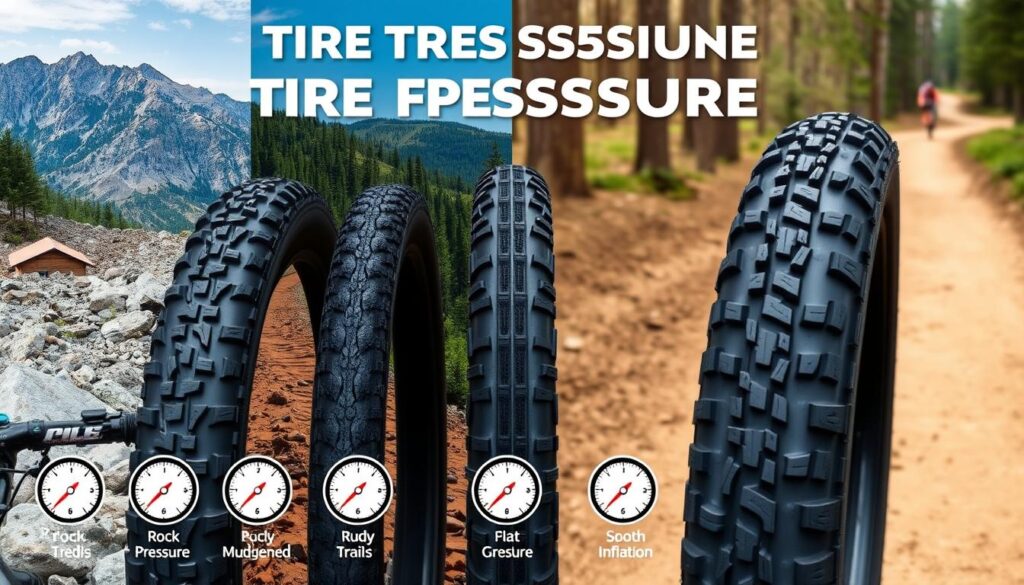
Knowing pressure needs helps riders set up their bikes for various terrains. Different styles require unique pressure settings. Let’s explore the best pressure ranges for each type.
Cross-Country (XC) Pressure Settings
XC riders focus on speed and efficiency. They typically keep tire pressures between 25-32 PSI. These settings work well on hardpacked trails.
This range balances low rolling resistance with good traction. It’s ideal for smoother trails where speed is key.
- Recommended XC tire pressure range: 25-32 PSI
- Ideal for hardpacked and smoother trail surfaces
- Focuses on minimising rolling resistance
Trail Riding Pressure Guidelines
Trail bike PSI usually ranges from 22-30 PSI. This setup works well for mixed terrain conditions. It offers better grip while maintaining decent rolling efficiency.
- Trail riding optimal pressure: 22-30 PSI
- Balances grip and speed on varied surfaces
- Adaptable to different trail characteristics
Downhill and Enduro Specifications
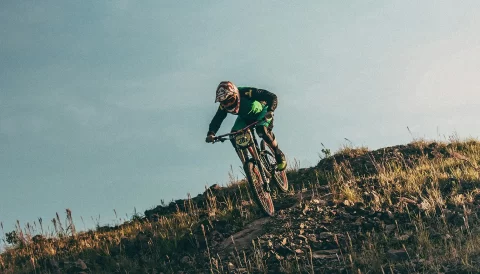
Aggressive riders need lower pressures for maximum grip on technical terrain. Downhill and enduro setups typically range from 18-28 PSI. This allows for better traction and shock absorption.
- Downhill pressure range: 18-26 PSI
- Enduro bike setup: 20-28 PSI
- Prioritises traction on challenging terrain
Remember, these pressure ranges are starting points. Always adjust based on your weight, riding style, and specific trail conditions.
Try different pressures within these ranges. This will help you find the perfect balance for your rides. Your ideal pressure may vary based on personal preference.
Factors Affecting Tire Pressure Selection
Choosing the right tyre pressure for mountain biking involves several key factors. Rider weight is crucial, with heavier cyclists needing 1-3 PSI more. This prevents tyre damage and maintains stability.
Tyre width, rim width, and trail type create a complex pressure equation. Wider tyres (2.4 inches plus) allow lower pressures, improving grip and comfort. Narrower tyres need higher pressures to prevent deformation during tough rides.
- Rider weight impacts pressure requirements
- Tire width influences optimal pressure ranges
- Trail conditions demand specific pressure adjustments
- Riding style determines pressure preferences
Different trails require unique pressure strategies. Rocky terrains benefit from lower pressures for better grip and shock absorption. Smooth, hard-packed trails need slightly higher pressures to reduce rolling resistance.
“Finding the perfect tire pressure is an art of balancing performance, comfort, and trail conditions.”
Your riding style affects pressure selection. Downhill riders might prefer lower pressures for maximum grip. Cross-country cyclists need a balance between speed and control.
Personal testing within recommended ranges helps find your ideal setup. Temperature, equipment, and bike suspension also influence tyre pressure. Make small adjustments and track your performance to find your perfect pressure.
Tubeless vs Tubed Tire Pressure Considerations
Mountain bikers are discovering the perks of tubeless MTB tires. Proper tire pressure can greatly affect your ride quality and performance.
Tubeless Setup Benefits and Pressure Ranges
Tubeless systems offer excellent puncture protection. They allow for lower pressures without risking pinch flats. Pressure ranges vary based on riding style:
- Cross-Country: 25-30 PSI
- Trail Riding: 22-28 PSI
- Enduro: 20-25 PSI
- Downhill: 18-24 PSI
Tubed Tire Pressure Requirements
Tubed tires need higher pressures to prevent damage. Typical ranges are between 25-35 PSI. This depends on the rider’s weight and terrain.
“Lower pressures in tubeless setups can transform your mountain biking experience by improving traction and comfort.” – Professional Mountain Bike Coach
Converting from Tubed to Tubeless
For a successful tubeless conversion, follow these key steps:
- Ensure compatible rim tape installation
- Use tubeless-specific tires
- Apply appropriate sealant
- Follow manufacturer guidelines precisely
Switching to tubeless MTB tyres can boost your riding experience. It offers more precise pressure adjustments and better trail adaptability.
Conclusion
Ideal mountain bike performance hinges on the balance between tyre pressure and riding conditions. Your trail-specific setup is vital for ride quality and safety. Experimenting within recommended ranges helps find the perfect balance of grip and stability.
Optimal tyre pressure isn’t universal for all mountain biking enthusiasts. Different terrains and rider weights require tailored approaches. Regular pressure checks and adjustments can vastly improve cycling experiences across various landscapes.
Managing tyre pressure involves careful observation and testing. Start with manufacturer recommendations, usually 22 to 40 psi. Fine-tune based on personal experience. Tools like the TOPEAK Smart Gauge D2 help maintain accurate pressure levels.
Mastering tyre pressure elevates mountain biking to a refined technical skill. Understanding tyre inflation dynamics enhances control and reduces injury risks. It maximises enjoyment across diverse trail environments, transforming the riding experience.
FAQ
What is the ideal mountain bike tire pressure for different riding styles?
Tire pressure varies by riding style. Cross-country riders use 25-32 PSI, trail riders 22-30 PSI, and enduro riders 20-28 PSI. Downhill riders prefer 18-26 PSI. These ranges depend on rider weight, tire width, and trail conditions.
How does tire pressure affect mountain bike performance?
Tire pressure greatly impacts bike performance. It influences traction, rolling resistance, and comfort. Lower pressures offer better grip on technical terrain. Higher pressures reduce rolling resistance on smooth trails.
The right pressure improves overall bike handling and control.
How often should I check my mountain bike tire pressure?
Check tire pressure before every ride. Pressure naturally decreases over time. It can be affected by temperature changes, altitude, and riding conditions. Regular checks ensure optimal performance and safety.
What tools do I need to manage tire pressure?
Essential tools include a reliable pressure gauge and floor pump. A shock pump may also be useful. For tubeless setups, you’ll need tubeless sealant.
A digital pressure gauge offers more precise measurements than analogue options.
How do rider weight and tire width impact tire pressure?
Heavier riders typically need to add 1-3 PSI to recommended pressure ranges. Wider tires can run at lower pressures due to increased air volume.
Optimal pressure depends on rider weight, tire width, rim width, and riding conditions.
What are the benefits of a tubeless tire setup?
Tubeless setups allow for lower tire pressures without risking pinch flats. They provide better traction, comfort, and puncture protection. Tubeless pressures can range from 18-30 PSI, compared to 25-35 PSI for tubed tires.
How do I properly check my mountain bike tire pressure?
Remove the valve cap and firmly press the gauge onto the valve. Read the displayed pressure. Ensure the gauge is fully engaged with the valve.
Compare the reading to recommended pressure ranges. Consider your riding style and trail conditions.
Can tire pressure vary based on trail conditions?
Yes, trail conditions affect tire pressure. Rocky terrain may require slightly higher pressures for protection. Smoother trails allow for lower pressures to increase traction.
Wet conditions might also need pressure adjustments to maintain optimal grip and control.
