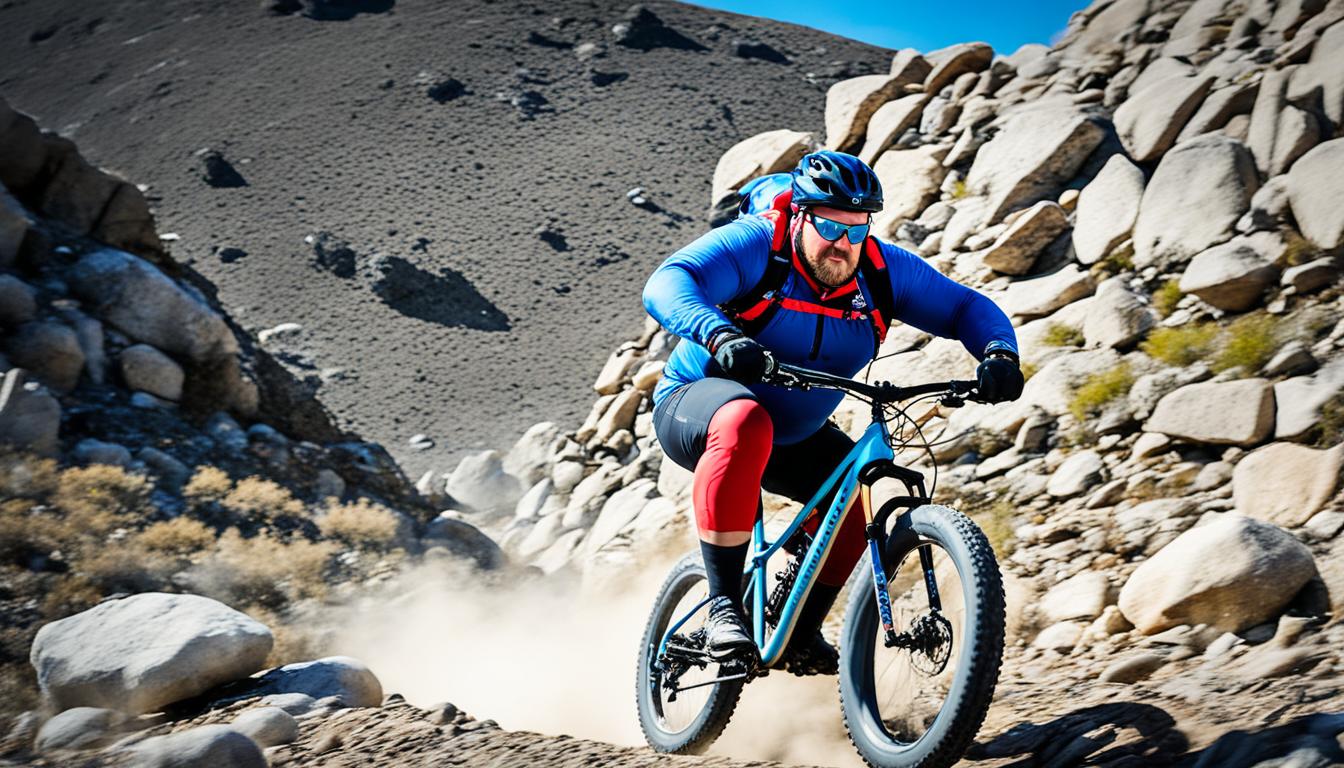
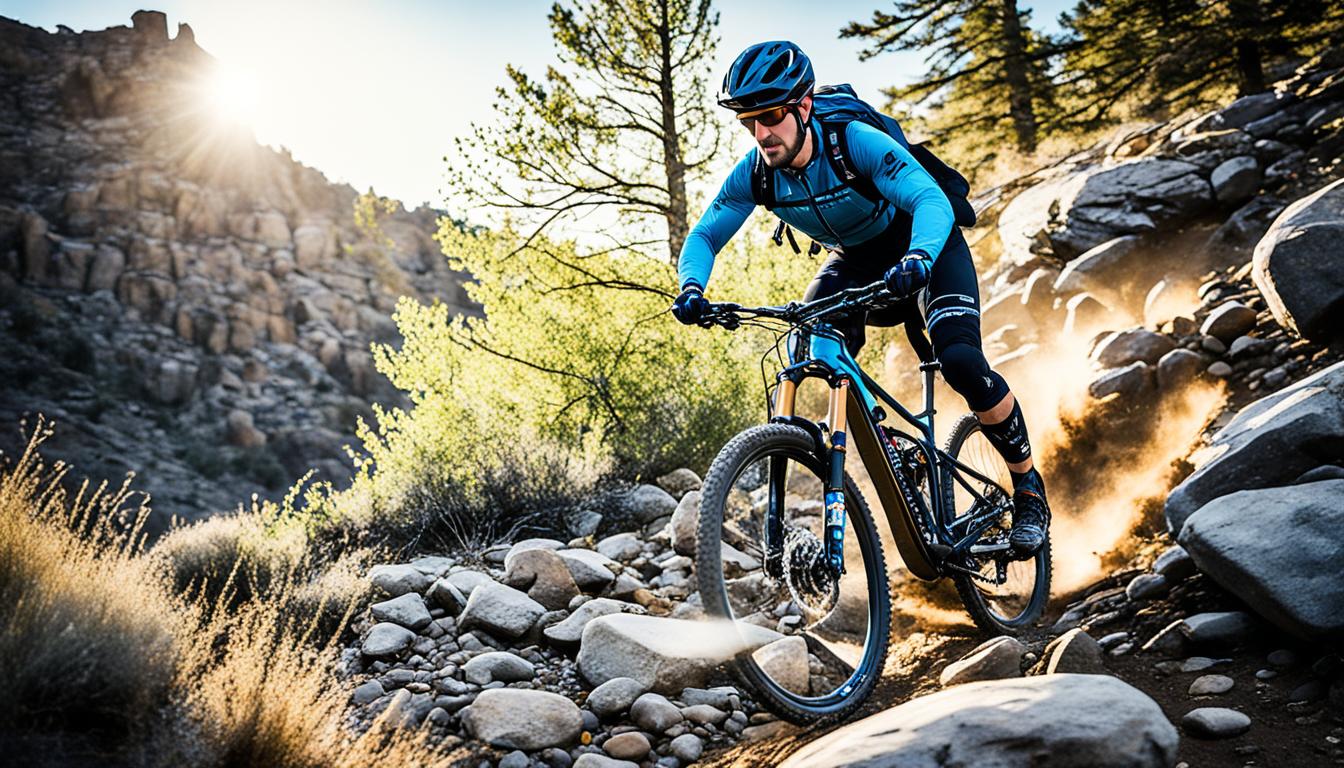
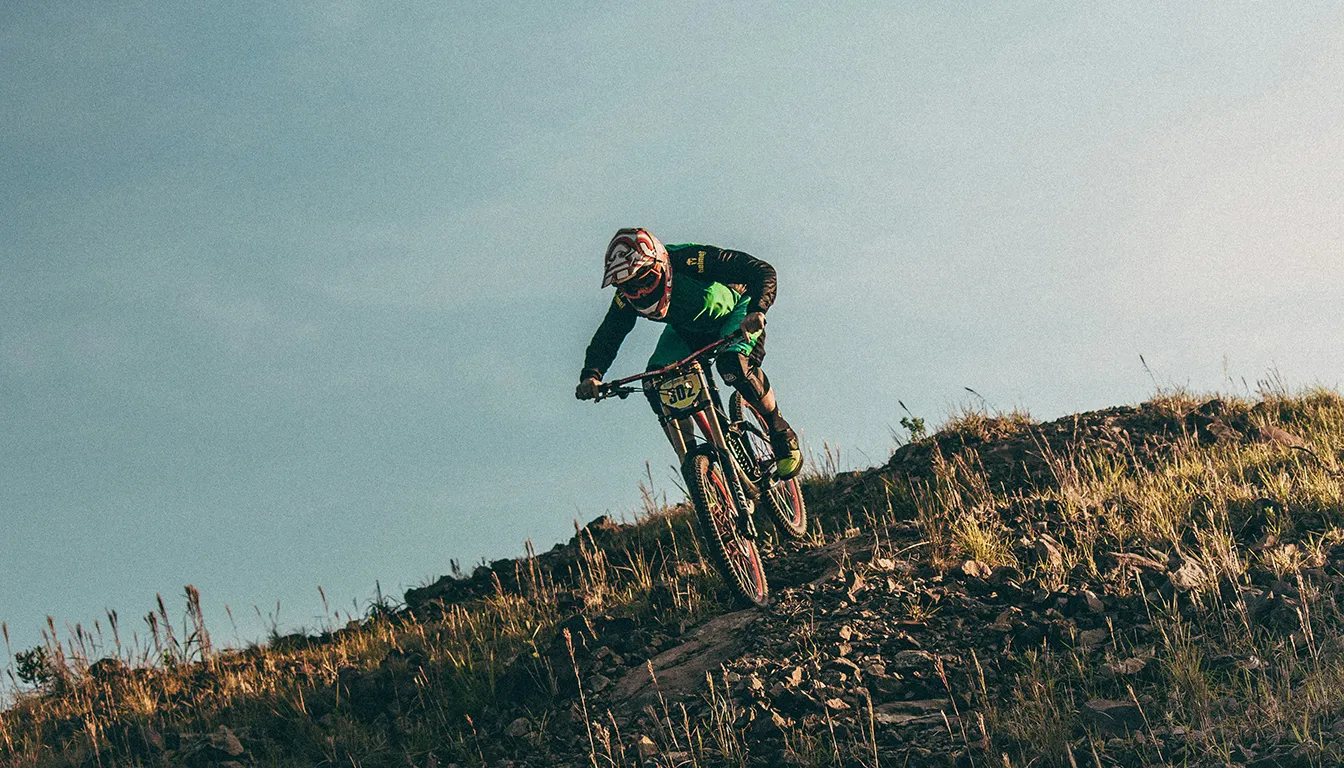
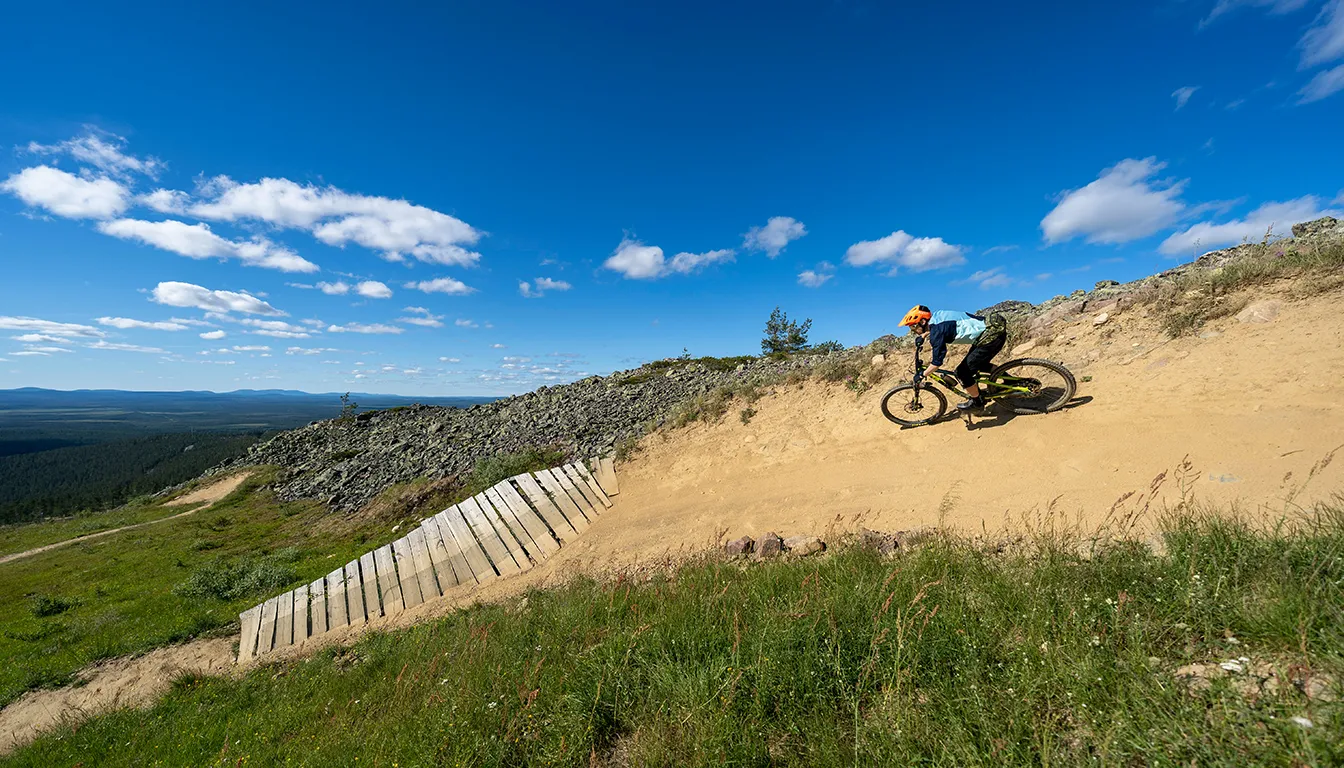
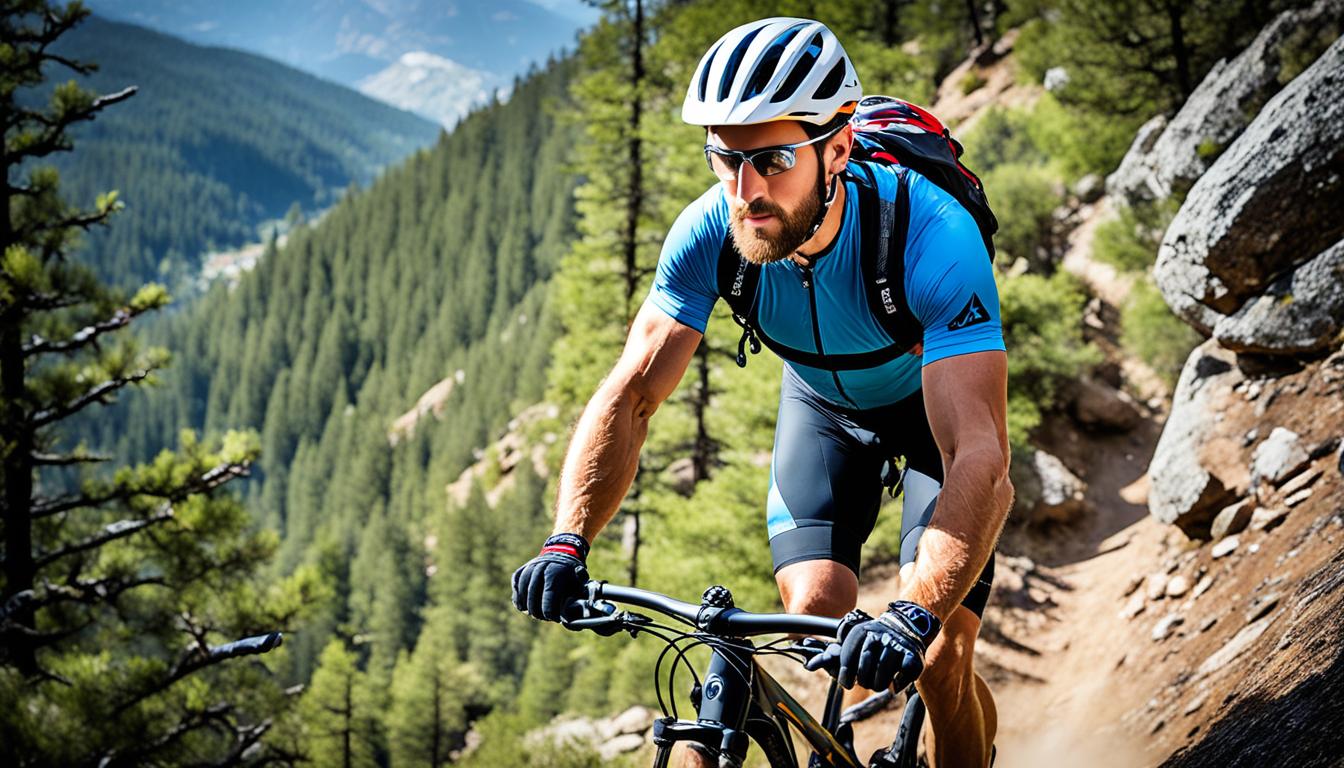
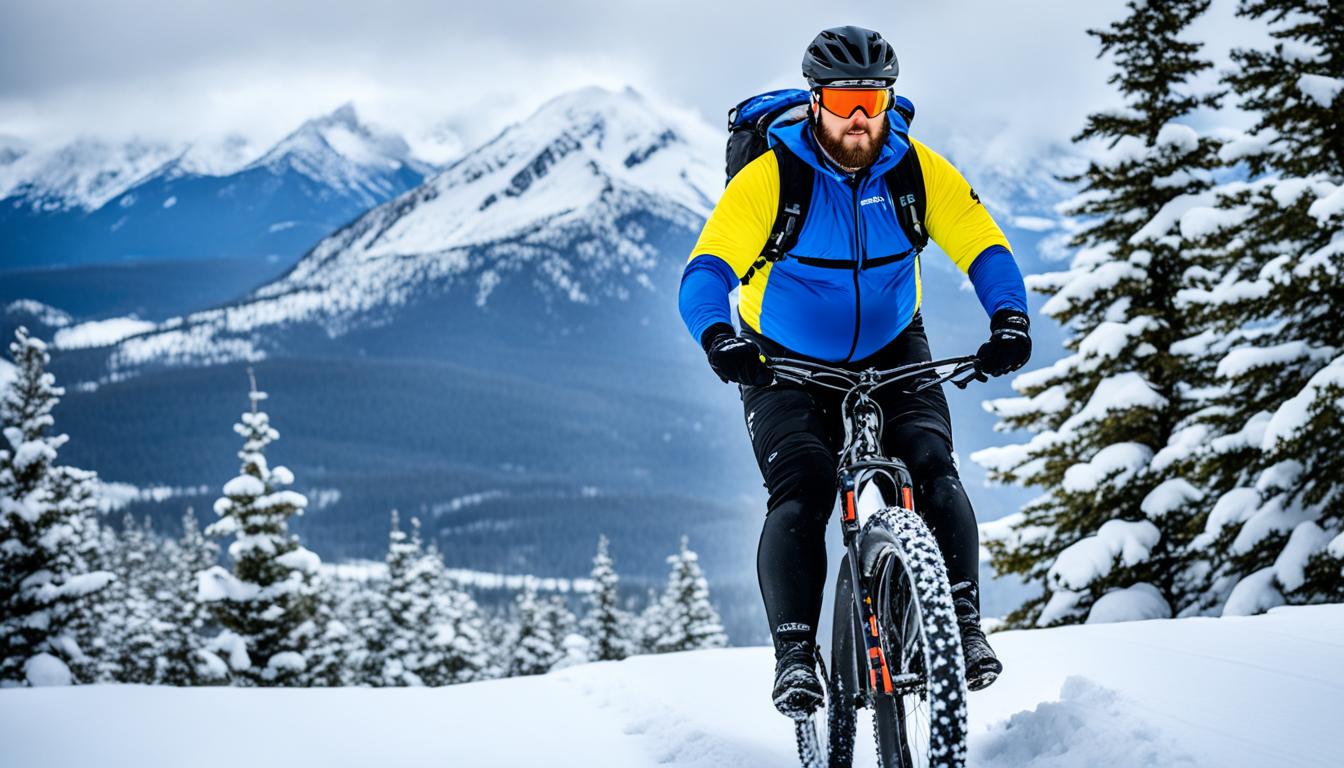
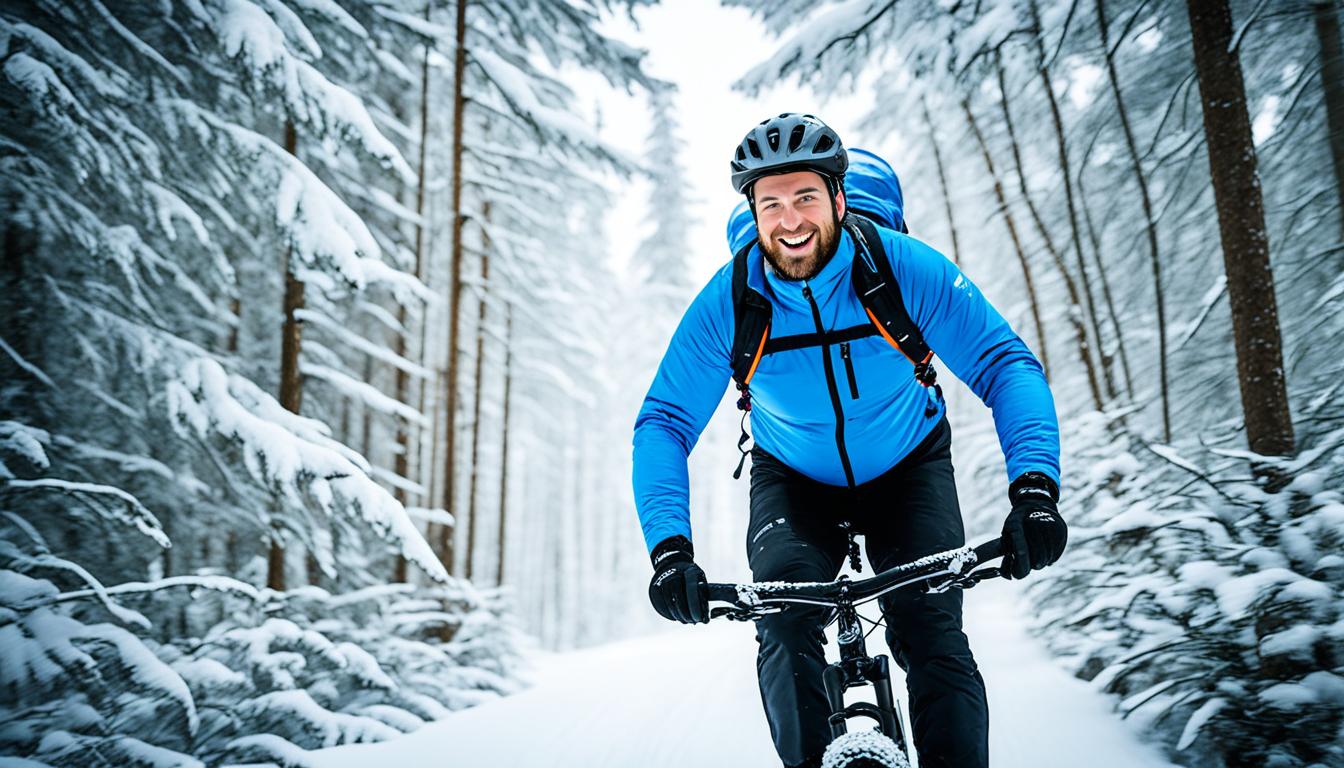
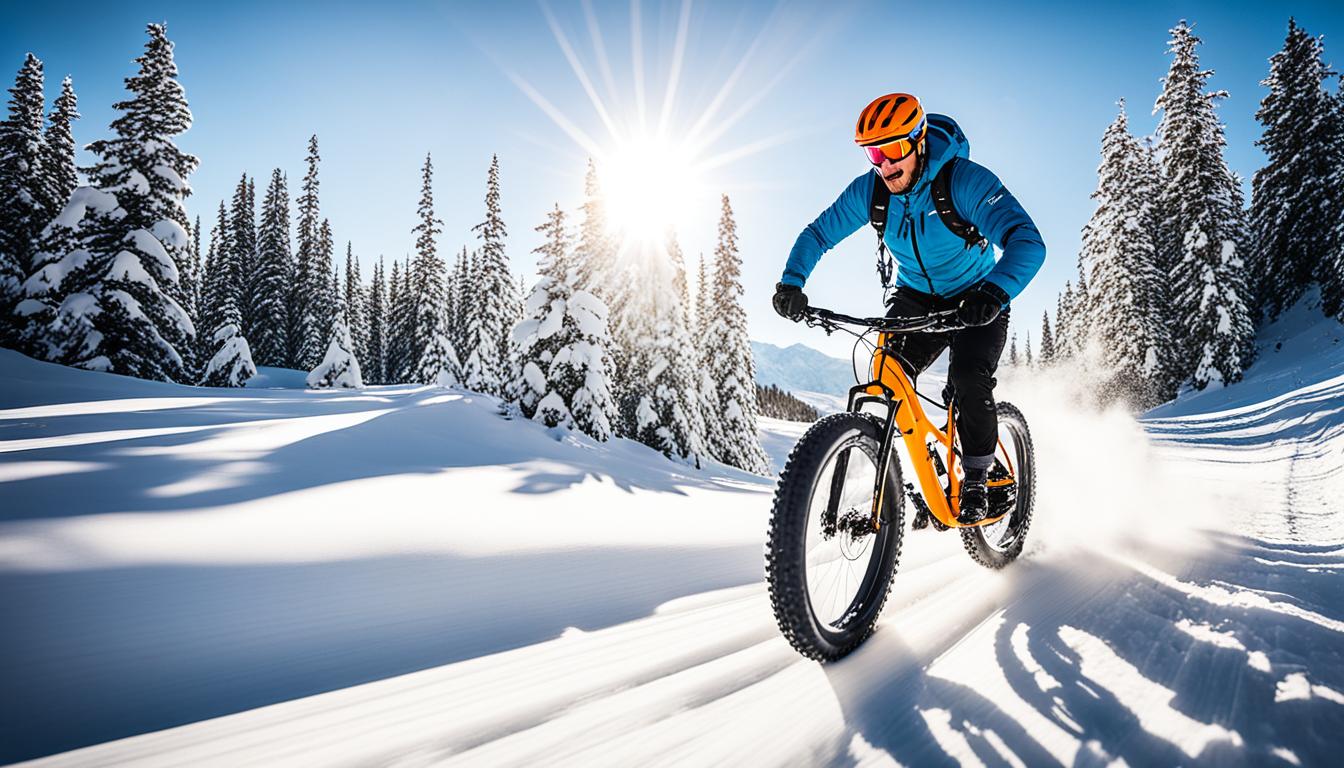
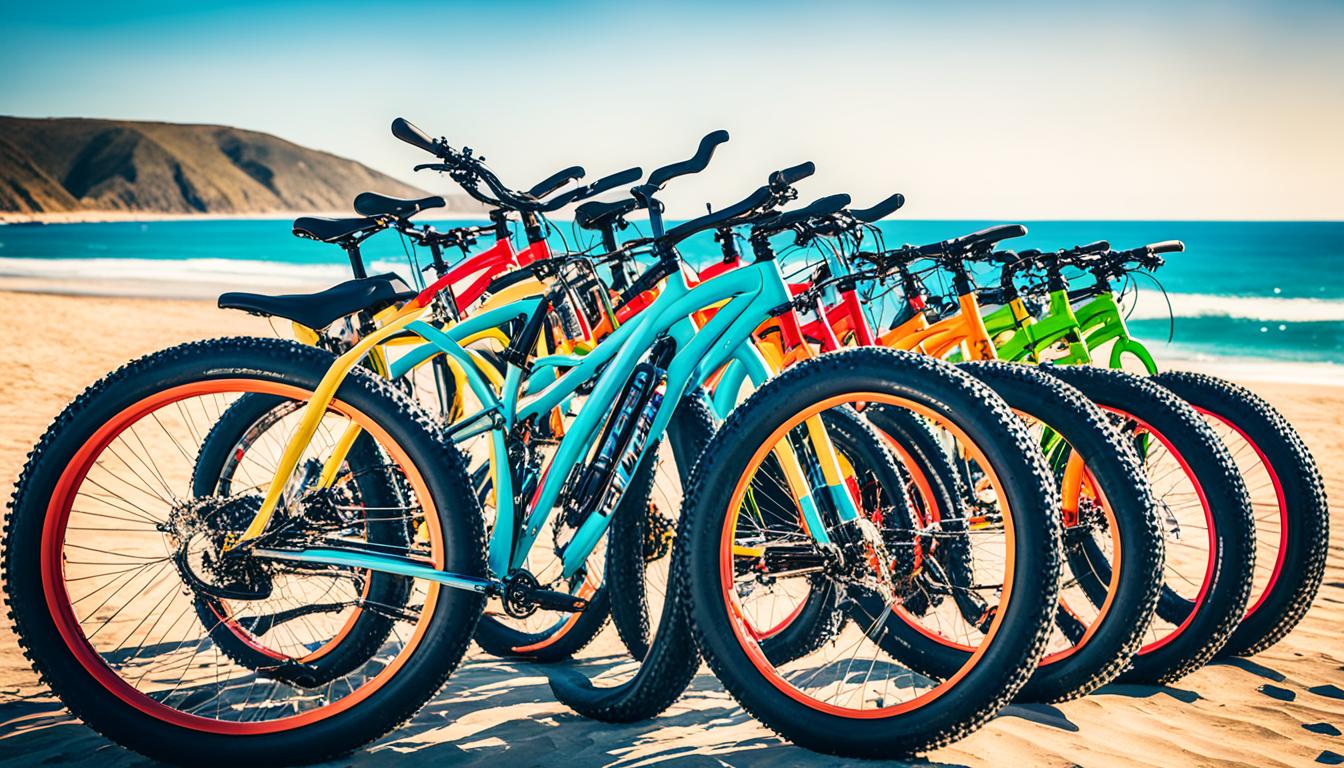
Fat biking is thrilling, allowing riders to explore different terrains all year round. It’s becoming more popular every day. For both new and experienced riders, knowing the key skills is crucial. Learning these skills improves performance and makes riding more fun. In a fat biking course, riders learn to adjust their style for different conditions and gear. This helps them take on challenges confidently.
Places like Oregon offer many trails for winter fat biking. This means riders can enjoy snowy paths using special gear. Items such as pogies and gaiters keep your hands and feet protected. With the right techniques, cyclists can have more fun and stay safe. They get to experience the excitement of fat biking fully.
Understanding Fat Biking: Origin and Evolution
Fat biking has recently become popular, offering a new way to cycle on different terrains. To understand its popularity, we need to look at the history and evolution of fat bikes.
Historical Background of Fat Bikes
The story of fat biking starts in Alaska in the 1980s. Cyclists wanted to ride on snow, so they made their bikes better for cold conditions. They made the wheels wider for better movement on snow. Riders also took on tough races like the Iditarod to show what these bikes could do.
Development Over the Years
In 2005, the Surly Pugsley changed everything as the first mass-produced fat bike. It was a big moment for fat bikes, setting new standards in design. Now, fat bikes have light frames and better gear options for snow. They have wide tires and can be ridden on many surfaces, from sand to snow. Fat biking is now popular all year round, showing how much the sport has grown.
The Key Differences in Fat Biking
Fat bikes are not the same as regular mountain bikes. They have much bigger tires. This changes how they perform on different types of ground. Because of their tires, fat bikes do really well where other bikes might have a hard time.
Tire Size, Pressure, and Their Importance
The tires on fat bikes are really wide, from 3.7 to 5 inches. This is much wider than the tires on most mountain bikes. Because of their size, they work better on soft ground. They can also have less air in them. This lets them grip better, making them great for places like beaches or very muddy tracks.
Terrain Adaptability and Performance
Fat bikes are built for tough places, like snow and sand. They let people ride in spots they couldn’t before. The big tires touch the ground more. This means better grip and steadiness. Thanks to these features, fat bikes can easily get over things like roots and rocks.
If you want to know more about fat bikes, there’s a good guide here: the best fat bikes.
Essential Techniques for Fat Biking
Fat biking is an adventure that improves vastly with the right skills. Knowing how to manage different riding styles in fat biking, adjust tyre pressure for fat biking, and use pedal techniques for fat biking is crucial. These skills ensure a smoother journey, enhanced control, and more fun on the trails.
Choosing the Right Riding Style
The way you ride your fat bike can change how well you do on various trails. It’s important to match your riding style with the terrain. Being aggressive works for tough trails, while taking it easy is better for more relaxed paths. Trying out different approaches helps you find what suits your own style and abilities.
Utilising Low PSI for Better Traction
Getting tyre pressure right is key in fat biking. Lowering the tyre pressure for fat biking to 5-15 PSI, based on conditions, improves traction. This is especially true on snow. A lower PSI means your tyres have more contact with the ground, giving you greater grip and control while you explore.
Adapting Pedal Technique for Efficiency
Being efficient on your bike means better pedal techniques for fat biking. Keep your pedalling steady to keep up your momentum, particularly uphill. Aim for a rhythm that keeps you from using too much force and adjust to changes in the terrain. This way, you’ll enjoy your ride and feel confident going over different surfaces.
Tips for a Successful Fat Biking Experience
Fat biking is a thrilling ride that needs the right prep. With some key tips, you can make your ride comfy and exciting. Think about layering right, choosing the best pedals, and tweaking your bike to perform better.
Layering for Weather Conditions
It’s crucial to get your layering right for warmth. Start with base layers that pull moisture away from your skin. Then, add insulating layers that keep you warm without being too bulky. Finally, an outer layer protects you from wind and rain, making your ride nicer, even in bad weather.
Employing Flat Pedals for Greater Control
The advantages of flat pedals are clear, especially on snow or rough ground. Flat pedals mean you can hop off quickly, aiding stability and balance on slippery bits. You can adjust your feet easily too, which helps keep you in control during your ride.
Importance of a Dropper Post
Having a dependable dropper post makes a big difference. It lets you lower your seat on steep drops, making transitions smoother. Being able to change your seat height fast when using a dropper post helps with control and reaction, especially on tough tracks.
Using these methods will elevate your fat biking adventures. If you’re looking for more tips and in-depth advice, check out more on successful fat biking experiences.
Conclusion
Getting the hang of key fat biking techniques is vital for a fun and safe ride. Knowing the history and how fat bikes have evolved adds to the sport’s excitement. This summary of fat biking techniques highlights the unique gear and riding styles that enhance the experience.
Before your next trip, think about layering right and choosing the best gear, like flat pedals and dropper posts. Using the right methods means you can ride on many terrains any time of the year. You’ll bike with more confidence and ability.
Learning from trusted sources means enjoying the fat biking thrill while boosting your skills for future rides. So, get your gear ready, hit the trails, and dive into the thrilling world of fat biking!
FAQ
What is a fat bike?
A fat bike has very wide tires, usually 3.8 to 5 inches wide. This design helps it move over tricky terrains like snow, sand, and mud easily.
How do I adjust tire pressure for fat biking?
For the best traction, lower your tire pressure to 3-10 psi. This depends on where you’re riding. Low pressure means your tires can grip better on soft ground.
What should I wear for fat biking in cold weather?
Dressing in layers is key. Choose a breathable layer first, then an insulating layer, and finally, a protective outer layer. This mix keeps you warm and dry while biking.
Why are flat pedals recommended for fat biking?
Flat pedals improve your control and make getting off the bike easier. They’re great for snowy or rough paths, keeping you balanced and stable.
What is the importance of a dropper post for fat biking?
A dropper post lets you change the saddle height quickly. This is handy on tough trails. It makes riding safer and more fun.
Can fat bikes be used year-round?
Absolutely, fat bikes work great all year. They’re perfect for both summer trails and winter snow.
What riding style should I choose for fat biking?
The right style depends on the terrain and your skills. Try aggressive riding on tough trails or take it easy on simpler paths. Find what feels best for you.
How do I maintain momentum on a fat bike?
Keep your pedalling smooth and steady. Adjust your riding style to the terrain. This helps keep your speed up, especially going uphill.
