Starting your journey in mountain biking is thrilling, but getting the setup right is key for enjoyment. The right setup helps with comfort and making the most out of the trails. Tailoring your bike’s setup boosts your ride. This guide covers mountain bike setup tips, with a focus on important adjustments for newcomers. It includes setting up your saddle, handlebars, and brake levers.
Setting your saddle too high or low can cause discomfort, like sore knees or hips. It can also lessen your power on the pedals. Many new riders prefer their saddle flat or slightly tilted down for comfort. It’s crucial to try out different positions to see what feels right to you.
Learning to fine-tune your saddle and handlebars improves control and ensures you’re well-placed for tough slopes or tricky tracks. As you explore mountain biking, each tweak helps make you a stronger rider.
Understanding the Importance of Proper Bike Setup
Setting up your bike right is key for both fun and safety in cycling. It’s really important because doing it wrong can cause discomfort. For example, a saddle that’s not aligned right can make your knees hurt. This takes away from the fun of mountain biking. Knowing how these adjustments help with comfort can make a big difference in how well you perform.
Related Posts:


Getting the setup right boosts your bike’s performance. It helps you confidently handle tough climbs and tricky downhills. As you get better or your riding style changes, you’ll need to tweak your setup. Your height, weight, and the kind of trails you ride affect how your bike should be set up. This means it needs to be tailored just for you.
Certain adjustments, like the height and tilt of your saddle, are really important for comfort. The aim is to find a riding position that lets you control your bike well and helps you stay fresh on long rides. Keeping up with these adjustments is key. Ignoring your bike’s setup can lead to back pain or sore wrists. Paying attention to the precise setup helps you enjoy riding more and stay safe.
| Adjustment Factor | Recommended Settings | Impact on Performance |
|---|---|---|
| Saddle Height | 25-30 degrees of knee flexion at the 6 o’clock position | Improves power transfer and reduces knee strain |
| Handlebar Height | Based on rider’s shoulder width | Enhances control and comfort |
| Tire Pressure | Lower (18-25 psi) for loose conditions; higher (30 psi) for hardpack | Increases traction and stability |
| Suspension Sag | 15-20% for forks; around 30% for rear shocks | Promotes smoother rides over obstacles |
Choosing the Right Mountain Bike for You
Looking for the right mountain bike can be thrilling but tough, especially if you’re new to it. There are many types of mountain bikes, suited to various riding styles and preferences. Let’s dive into the essentials of choosing your first mountain bike.
Types of Mountain Bikes
Mountain bikes are designed differently, mainly falling into hardtail and full-suspension categories.
- Hardtail Bikes: These have only front suspension, making them lighter and easier to look after. They’re great for beginners on smooth trails.
- Full-Suspension Bikes: These come with both front and rear suspension for better comfort and control on rough grounds. They suit riders ready for tougher trails.
What to Look for in Your First Mountain Bike
When picking your first bike, keep these points in mind:
- Frame Size: It’s vital to get the right frame size for comfort and control. Try out different sizes to see what works best.
- Wheel Size: You’ll find 26″, 27.5″, and 29″ options. Bigger wheels grip better but might weigh more.
- Material: Carbon fibre or aluminium? Aluminium is affordable and sturdy. Carbon is lighter but pricier.
- Brakes: Hydraulic disc brakes are a top choice for good stopping power.
- Weight: Lighter bikes are easier to handle, important for beginners. Hardtails are usually lighter.
Here’s a table of popular bikes for beginners:
| Bike Model | Price | Weight | Fork Travel |
|---|---|---|---|
| Specialized Rockhopper Elite 29 | $900 (22% off) | Unknown | Unknown |
| Giant Stance 29 2 | $1,260 (10% off) | Unknown | Unknown |
| Kona Mahuna | $849 | Unknown | Unknown |
| Specialized Stumpjumper Comp Alloy | $2,500 (38% off) | Unknown | Unknown |
| Specialized Chisel | $1,350 (25% off) | 27 lb. | Unknown |
| Giant Talon 29 1 | $950 | Unknown | Unknown |
| Surly Karate Monkey | $2,599 | Unknown | Unknown |
Beginner Mountain Bike Setup
Getting your mountain bike ready the right way is key to a great ride. Beginners need to adjust their bikes for better comfort and performance. This makes sure the bike is a good fit and works well on all types of ground.
Essential Adjustment Steps
When starting to set up your mountain bike, keep these important steps in mind:
- Saddle Height: The right saddle height is important for a comfy ride and efficient pedalling. Your seat should be adjusted so your leg is nearly straight when the pedal is at its lowest. You should still be able to slightly bend your knee.
- Saddle Angle: Adjusting the saddle angle can boost your comfort, especially on uphill and downhill rides. It should match your natural sitting position.
- Handlebar Height: Setting the handlebar height helps control and posture. Too high can make handling tough, and too low might cause discomfort.
- Brake and Gear Levers: Make sure your brake and gear levers are easy to reach. This lets you access them quickly without losing your grip or balance.
- Pedal Considerations: Basic pedals might not do well off-road. Think about getting pedals that fit how you like to ride.
- Regular Maintenance: Checking your bike often helps avoid problems. Look over parts like the chain and derailleurs to keep them working right, and remember to clean and oil them as needed.
- Tire Pressure: Set your tire pressure for the trail you’re on—lower for more grip on loose surfaces, for a safer ride.
- Derailleur Tuning: Make sure your derailleurs shift gears smoothly. If not, they might need some tuning to work better, especially on cheaper bikes.
Building a habit of regular adjustments helps as you become more skilled. Try to learn from different places to get better at bike setup and keeping it in good shape.
Setting Your Saddle Height
Getting your saddle height right is key for a comfy and high-performance ride on your mountain bike. It not only helps with efficient power use but also lowers injury risks. This guide covers how to measure and adjust your saddle height and angle to fit your needs.
Measuring Saddle Height
To measure saddle height, check the distance from the bottom bracket center to the saddle top. Make sure your measurements are precise, right down to the millimetre. For example, a 764mm reading helps guide your adjustments as you fine-tune your bike setup.
Understanding saddle setback is also crucial. Measure from the rear wheel backs to the bottom bracket. Then, subtract your saddle height. This helps avoid problems like discomfort and strain.
If you’re starting out, try the ‘heel method’ for a good saddle height. Drop the saddle gradually until pedalling feels smooth. The right height allows a knee bend of about 25 to 30 degrees when your leg is fully extended, which makes pedalling both comfy and efficient.
Adjusting Saddle Angle
Adjusting your saddle angle is just as important. Saddles often allow a tilt from zero to six degrees. Measure this tilt for support. Use a flat board and a smartphone or inclinometer to get the angle right. A good angle supports your sit bones without causing discomfort.
Methods like the LeMond or Hamley can pinpoint the best saddle height. They calculate height using your inseam multiplied by 0.883 or 1.09. A properly fitted saddle keeps your pelvis stable and ensures smooth pedal strokes.
For the best experience, consider dropper posts for easy height changes. And use hex bolt clamps instead of quick-release to keep the seat height consistent. This boosts your confidence on the bike.
For detailed advice on saddle height adjustment, check out this useful guide.
Handlebar Adjustments for Comfort and Control
Riding your mountain bike well depends a lot on how you adjust the handlebars. Getting the height and position right can make your rides much better. The height of your handlebars helps you keep balance and control, important on rough grounds. It’s important to think about your body and how you ride when adjusting your bike.
Finding the Right Height
The top of the handlebars should usually be level with the saddle, for those who prefer speed. With stems, you can change the handlebars’ position to what feels best for you. To find the right height, check the space from your fingertips to the stem’s clamp. Ideally, this should be between two and four fingers wide. If needed, you can adjust the height using spacer washers easily.
Positioning the Handlebar
Getting your handlebars in the right position helps with control and comfort. Your wrists should be straight to avoid pain. Handlebars should tilt up a bit for the best control. You can change the stem for more handlebar adjustments. Try different positions to see what’s most comfortable for you, for a better ride.
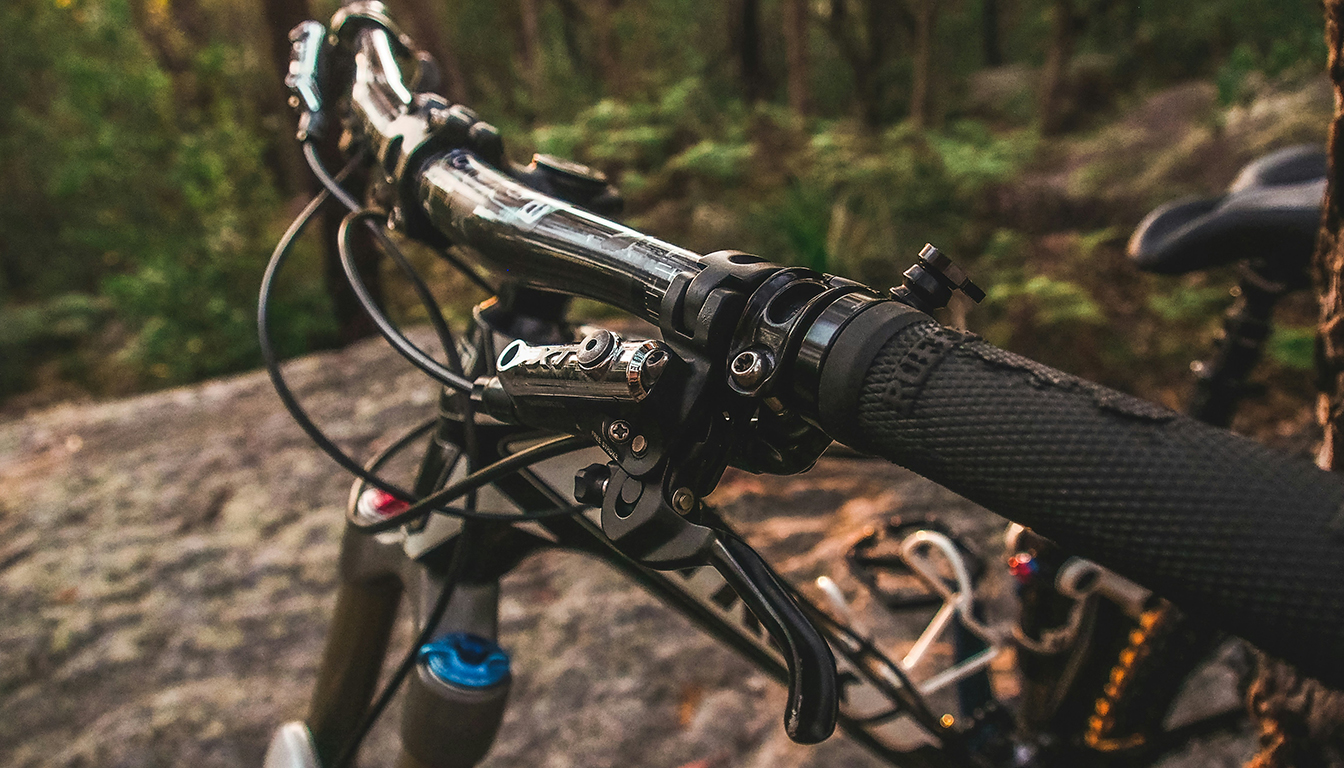
Brake and Gear Lever Positioning
Setting up your brake and gear levers correctly is key for safe and controlled riding. Paying attention to these will improve your MTB adjustments and enjoyment. Let’s look at how to set up brake levers and adjust gear shifters to suit your style.
Setting Up the Brake Levers
For the best brake lever setup, follow these tips:
- Angle Adjustment: Position the brake levers at about a 45-degree angle. This makes them easy to reach without bending your wrists too much.
- Reach Setting: Lever reach is down to what feels right for you. A shorter or mid-range reach helps keep your fingers from getting tired.
- Bite Point Adjustment: Many prefer the bite point further from the lever to avoid too much squeezing. It helps keep control during braking.
- Torque Specifications: It’s crucial to tighten the levers just right, especially on carbon handlebars, to prevent damage.
If you like riding down steep hills, you might prefer your levers flatter. It’s best to try different angles to find what fits your riding style best.
Adjusting Gear/Shifter Control
After setting up your brake levers, it’s time to adjust the gear shifters. Here are some key points for shifter adjustment:
- Ergonomic Positioning: Make sure the shifters are easy to reach with your fingers when you’re holding the handlebars. This makes shifting smoother and reduces strain.
- Symmetrical Setup: It’s important that both the left and right shifters are placed in the same position. It ensures smooth shifting and avoids confusion.
- Fine-tuning Adjustments: Just like with the brake levers, it’s important to tweak the shifters for your comfort. Everyone has their own preference depending on how they ride.
Following these tips for brake and gear lever positioning will make your rides safer and more fun. You’ll be able to focus more on the trail and less on your bike’s controls.
| Adjustment Aspect | Recommended Range | Notes |
|---|---|---|
| Brake Lever Angle | 45 degrees | Suitable for most types of riding |
| Lever Reach | Short to Mid-range | Tailor for finger ease |
| Bite Point Position | Further from lever | Helps avoid too much braking force |
| Torque Specification | Follow the manufacturer’s advice | Especially important for carbon handlebars |
By carefully considering your brake and gear lever setup, you can customize your bike for better handling and comfort during rides.
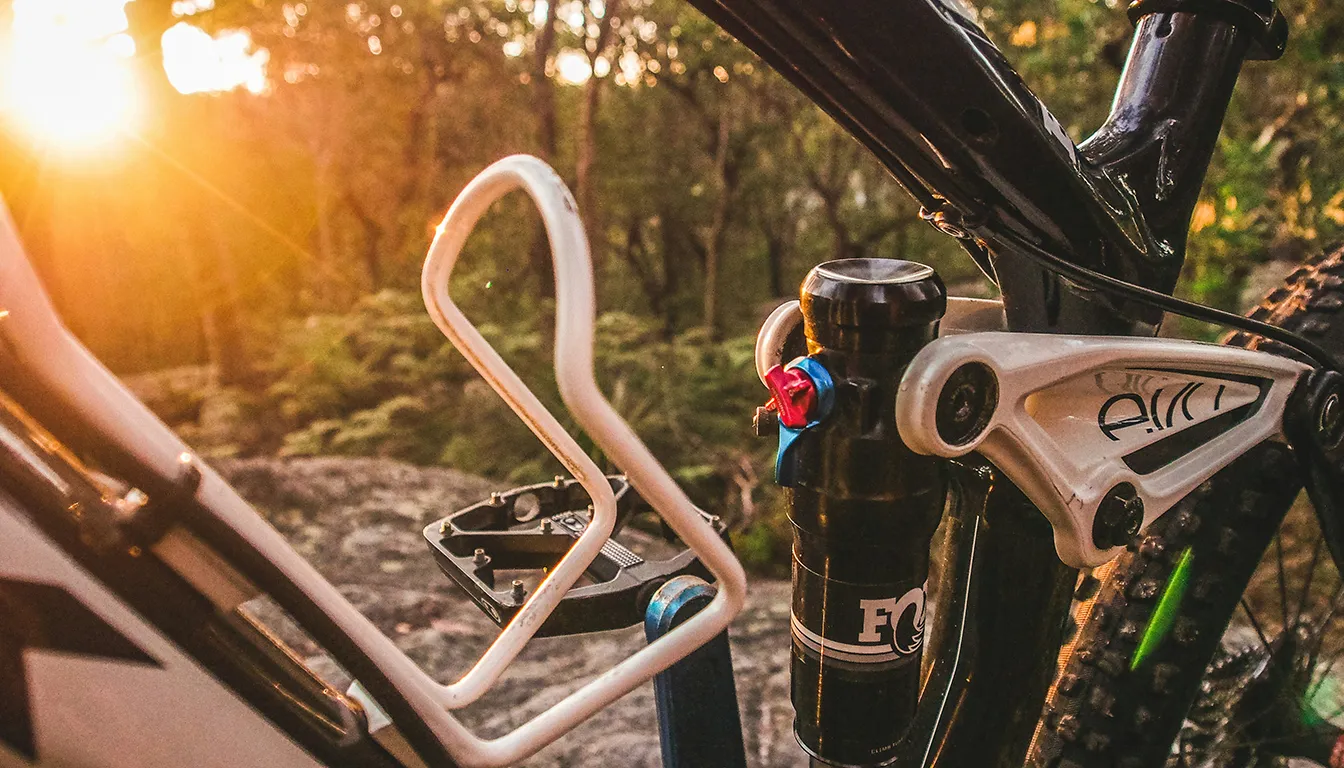
Fine-Tuning Your Mountain Bike Suspension
Making your bike’s suspension perfect is key to a smooth and enjoyable ride. You need to adjust the sag and rebound damping carefully. This makes sure your bike handles well on different terrains. Getting these settings right means better control and comfort while you ride.
Understanding Sag and Rebound Damping
Getting the sag right is important for your suspension to work under your weight. For rear shocks, about 30% sag is a good start. Fork sag should be around 20%, unless the maker says otherwise. To fine-tune, adjust the pressure in small steps. This lets you match the suspension to how you like to ride and what feels good.
Rebound damping is about how fast the suspension goes back to normal after being pressed down. Setting this right is crucial for smooth riding over bumps. Playing with the settings will help you find a good balance. Most modern suspension systems have dials for detailed adjustments, making it easier to get it just right.
Balancing Front and Rear Suspension
It’s important that the front and back suspension work well together. This helps keep the bike stable. You’ll want to avoid the bike bottoming out. Adjusting the spring’s progressivity can help, especially on tough trails.
Here’s a guide to help with tuning your suspension:
| Suspension Type | Pros | Cons |
|---|---|---|
| Air Forks | – Lightweight design – Highly adjustable settings – Suitable for various conditions |
– Performance can vary with temperature – Needs regular pressure checks |
| Coil Forks | – Consistent feel – Less affected by weather – Good for hard riding |
– Heavier than air forks – Not as adjustable |
Each type of suspension has its own benefits. Choosing the right one depends on how and where you ride. With proper sag and rebound settings, your mountain bike will perform better and feel more comfortable.
Conclusion
This mountain bike setup guide offers beginners the know-how for a confident start. Proper setup is crucial for comfort and control on trails. It ensures enjoyable rides by getting the saddle height just right and adjusting the suspension for your weight.
Also, never forget to maintain your bike. Keep it clean and well-oiled, especially after muddy rides. This keeps your bike running smoothly for longer. Wearing the right gear, like helmets and knee pads, is key for safety. The Bell 4Forty is a top pick for many riders.
Starting mountain biking means always learning and improving. Face each challenge head-on and adjust your bike as your riding improves. With these tips, you’ll master the trails in no time. Riding confidently and safely lets you fully enjoy the adventure of mountain biking.
FAQ
Why is proper bike setup important for beginners?
Getting your bike set up right is key for a comfy, safe ride. A poor setup can cause pain in your knees and even lead to injuries. A well-adjusted bike adds to the fun and performance on your rides.
What are the key adjustments I should make on my mountain bike?
Start with adjusting your saddle height and angle, then your handlebar position. Making sure your brake and gear levers are well placed is crucial for control and efficiency when you’re cycling.
How do I measure the correct saddle height?
To find the right saddle height, measure from the bottom bracket to the top of the saddle. This ensures you’re comfy and efficient while pedalling. You can adjust the height by loosening the clamp bolts until it’s just right for your legs.
What type of mountain bike is best for beginners?
Beginners should look at hardtails or full-suspension mountain bikes. Hardtails are simpler and good for easy trails. Full-suspension bikes offer more comfort and stability as you get better, especially on tougher trails.
How can I ensure my bike setup is comfortable for long rides?
Adjust your saddle height and angle to find the right sitting position. Also, tweak the handlebar height for a good posture. Keep checking and adjusting your setup to stay comfy and enjoy your rides.
What should I consider when adjusting my brake and gear levers?
Your brake levers should match your grip for the best leverage and be symmetrical. Your gear levers should be easy to reach and use smoothly while you’re on the move.
How can I fine-tune my mountain bike’s suspension?
Fine-tuning your bike’s suspension involves understanding sag and rebound damping. Check the sag to see how much your bike sinks with your weight, and adjust the rebound to keep control on different grounds.
How often should I adjust my mountain bike setup?
It’s wise to regularly check and tweak your bike’s setup, especially as you grow as a rider. Keeping your bike tuned helps you ride comfortably, take control, and cycle efficiently.

One thought on “How to Set Up Your Mountain Bike as a Beginner”